On-premise Phocas upgrade
- Helen Gosper
- Denise McGettigan
- Former user (Deleted)
This page describes the procedure for upgrading to the latest version of Phocas if you have an on-premise installation of Phocas (i.e., Phocas is hosted on your own servers). Users who have a Phocas cloud installation are always using the latest version of Phocas.
![]() Please read the 'Before you start' section below before proceeding with an upgrade.
Please read the 'Before you start' section below before proceeding with an upgrade.
1. Before you start
Check what version of Phocas you are running (you can see this information in your personal settings in Phocas). This will determine your upgrade path.
Your version of Phocas Upgrade path Self-upgrade? 6.5 and older Discuss upgrade path with your Phocas support consultant. 6.6.0 Upgrade to 6.6.20 then upgrade to 7.2.4 then to the latest version of Phocas. 
7.2.4 and above Upgrade directly to the latest version of Phocas. - Check you have the browser and server requirements by reading System requirements. Because you are upgrading rather than installing Phocas for the first time, it is likely that your site will already meet many of these requirements. However, there are some specific steps required if your site:
- uses a Microsoft .NET Framework version lower than 4.7.2 or
- uses an http:// protocol.
This article System requirements shows you where to check your .NET version. See this article: Additional upgrade instructions for sites with .NET Framework lower than 4.7.2 or using HTTP
- You need to have 'sysadmin' permissions on your site and admin permissions for Phocas and be familiar with making basic changes to your Windows environment.
Backing up
The Phocas installer automatically makes a backup of your existing Phocas site and your PhocasMaster database during an installation. This means there is no need for you to manually back up your Phocas installation prior to upgrade. If you do need to restore from backup, see Backup and recovery.
If, after checking your requirements, you need to follow Additional upgrade instructions for sites with .NET Framework lower than 4.7.2 or using HTTP we recommend you make a copy of your Web.config file.
The Phocas installer
- Once you have downloaded the relevant Phocas installer, extract the installer and save it to your computer.
- Right-click the installer icon and select 'Run as administrator'. The Phocas installer wizard will now open.
2. Upgrade procedure
Using the installer wizard
The installer wizard will take you through the upgrade process, via a series of screens. Note: Because Phocas regularly releases product updates, the version numbers you see in the installer screens will be different than those shown in this documentation. Some requirements information in the screens may have been superseeded. Always check the System requirements page if uncertain.
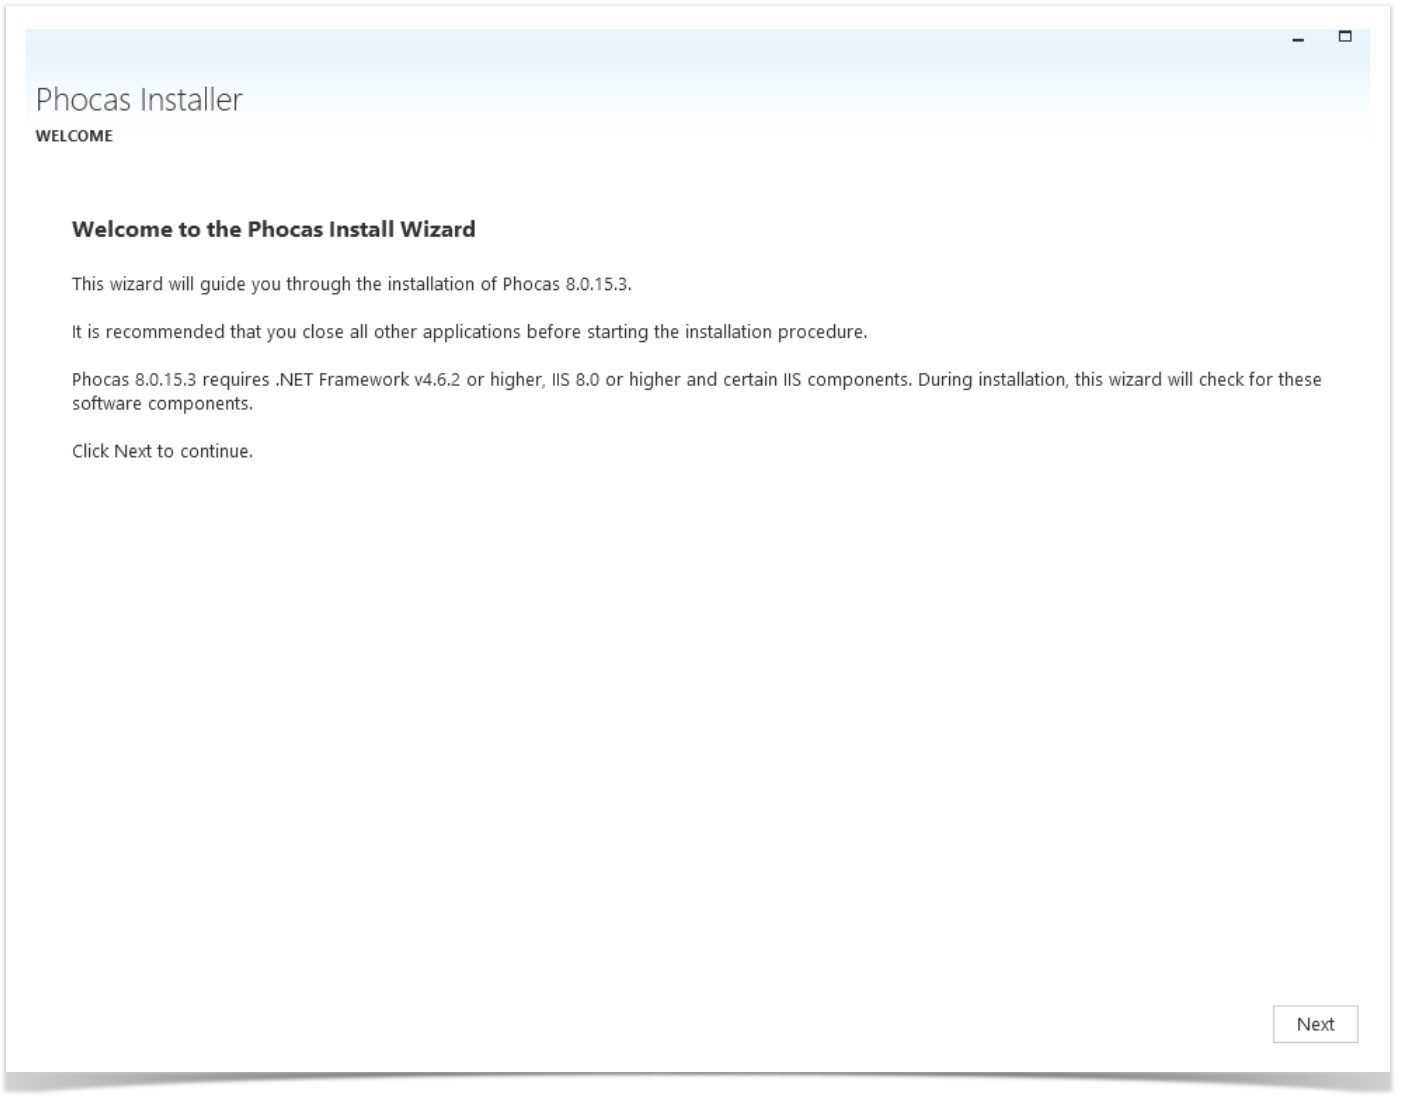
Welcome screen
This is a read-only screen, containing important information that you should read before you start the upgrade. Note the version numbers will be different to those in the image below.
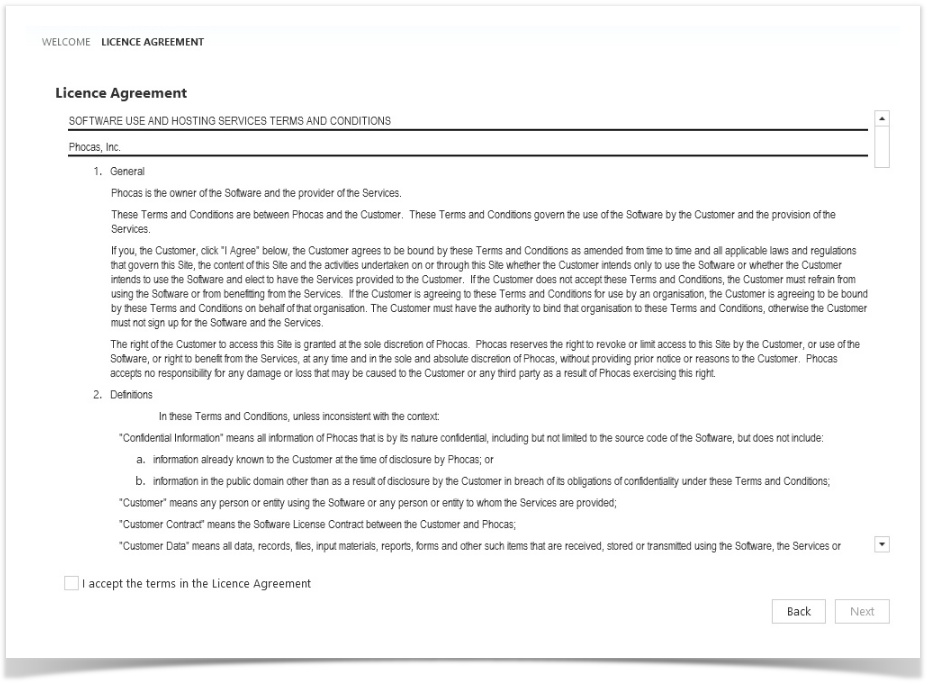
Licence agreement
Read the terms and conditions, and click the checkbox to accept these terms. Choose Next.
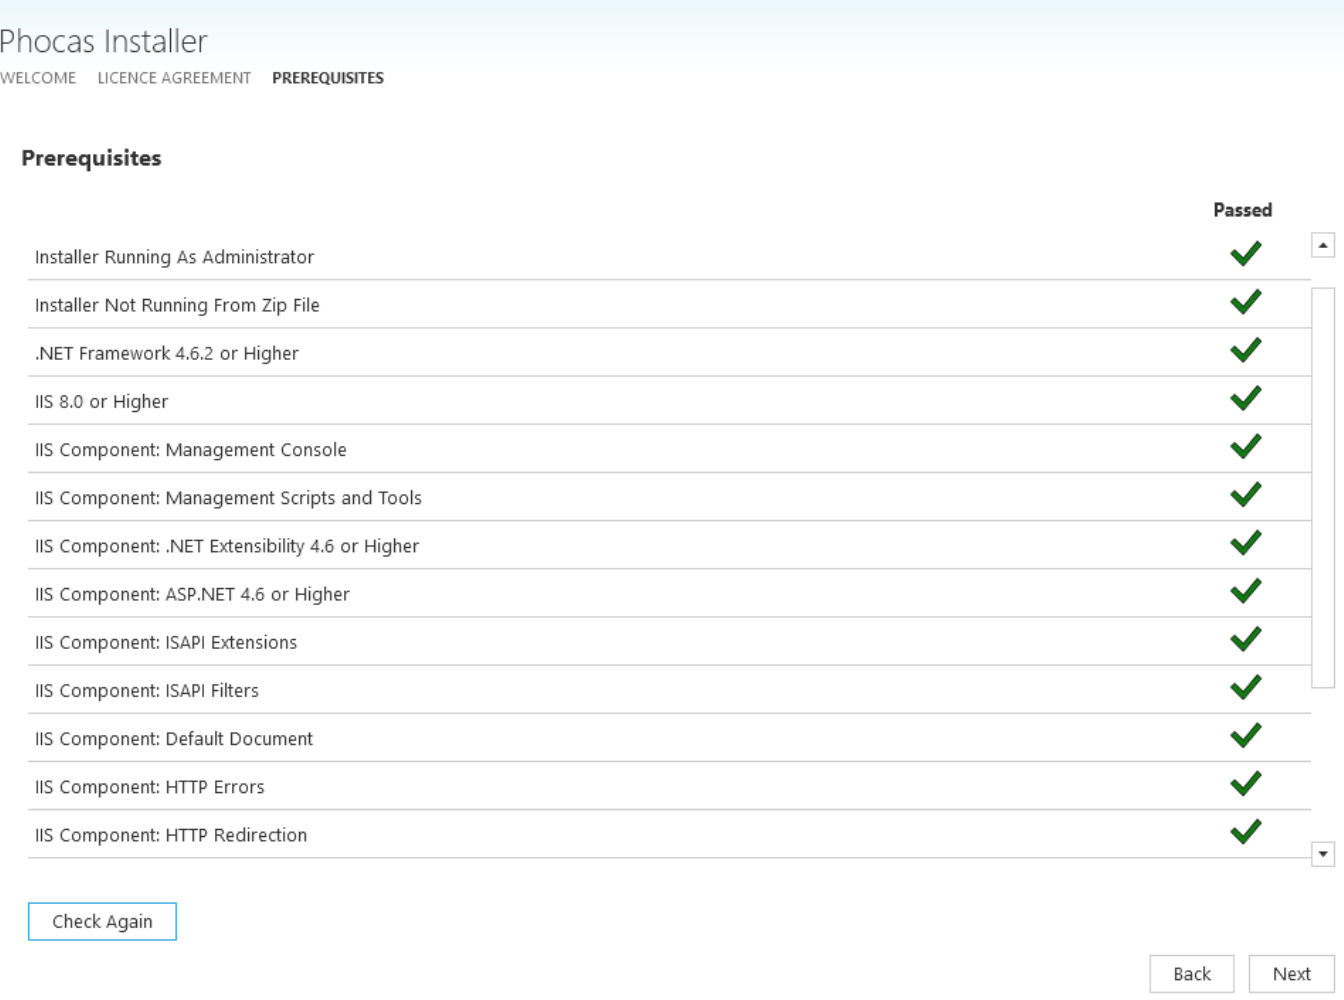
Prerequisites
You should see all green ticks on the screen.
- If each item in the list has a green tick, choose Next.
- If there are any red crosses, refer to Checking and installing Windows requirements to resolve any issues.
- Once the required components are installed, click the ‘Check Again’ button to ensure the prerequisites are all ticked now. If you still see red crosses, go back to the Windows control panel and check you haven't missed any boxes and repeat the process if necessary.
- When all items have green ticks choose Next.
- (Note that sometimes windows will reboot after you make changes to Windows features. If this occurs, you will need to re-open the installer and start the upgrade again).
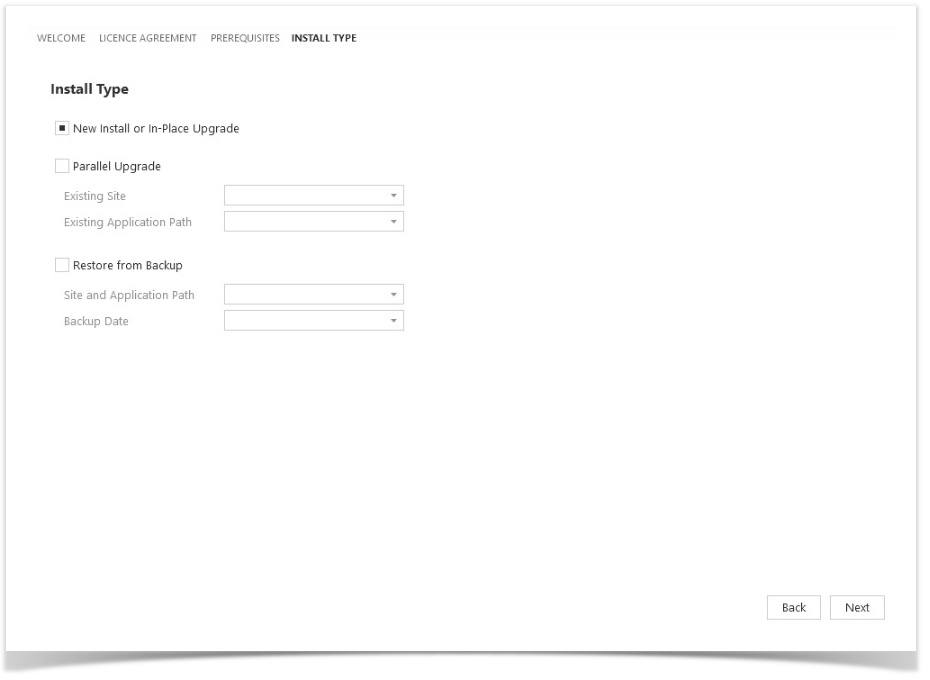
1. Select installation type
To upgrade select 'New Install or In-Place Upgrade' (the same option is used for both types of installation) and choose Next.
2. Select the site you want to upgrade
- Select the site you are upgrading from the dropdown list. The site will either have the prefix 'Phocas' or 'Promobile'.
- Once you select the site, the 'Port number' and 'Site physical path' fields on this screen will be automatically populated.
- Select the relevant 'application path' from the dropdown. Commonly, this field may be blank apart from a forward slash or it may also say 'phocas'. If your site has more than one instance of Phocas, you will see a dropdown list of all installations. Select the one you are upgrading and click Next.
The 'application pool' and 'application files location' fields will now auto-populate.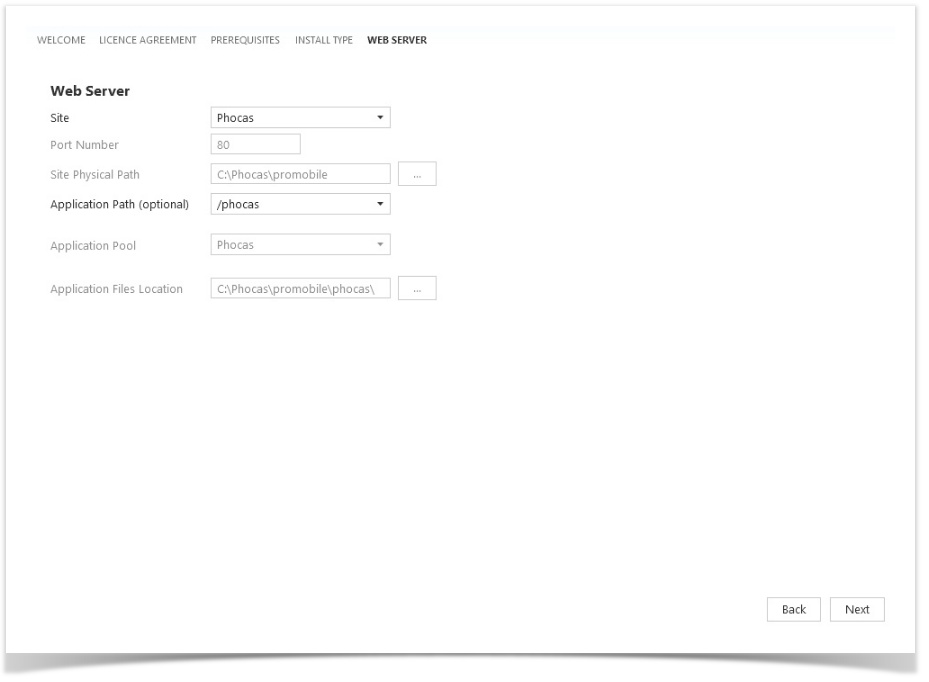
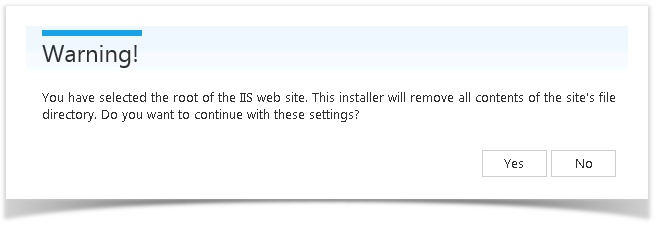
When you click next, you will see a warning telling you everything in that folder will be overwritten with the upgrade. Select Yes to continue.
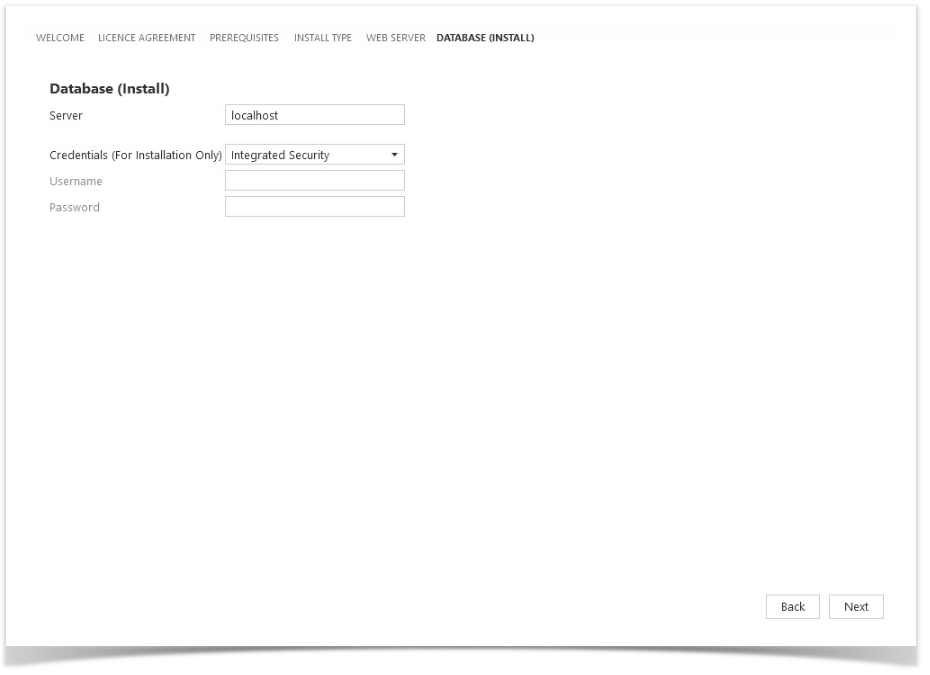
3. Connect website to database server
This screen is where you configure the connection between the Phocas installer and your organisation's SQL Server during the upgrade.
- Server: Enter the IP address or hostname of the SQL Server on which the Phocas databases are located.
- Installation Credentials: These are the credentials that the installer will use to connect to the SQL Server. They are not necessarily the credentials used by the application to connect to the database. Select between:
- Integrated Security – use the Windows account running the installer to connect, or
- Username/Password – use a SQL username and password combination to connect.
- See Locating your Phocas installation credentials
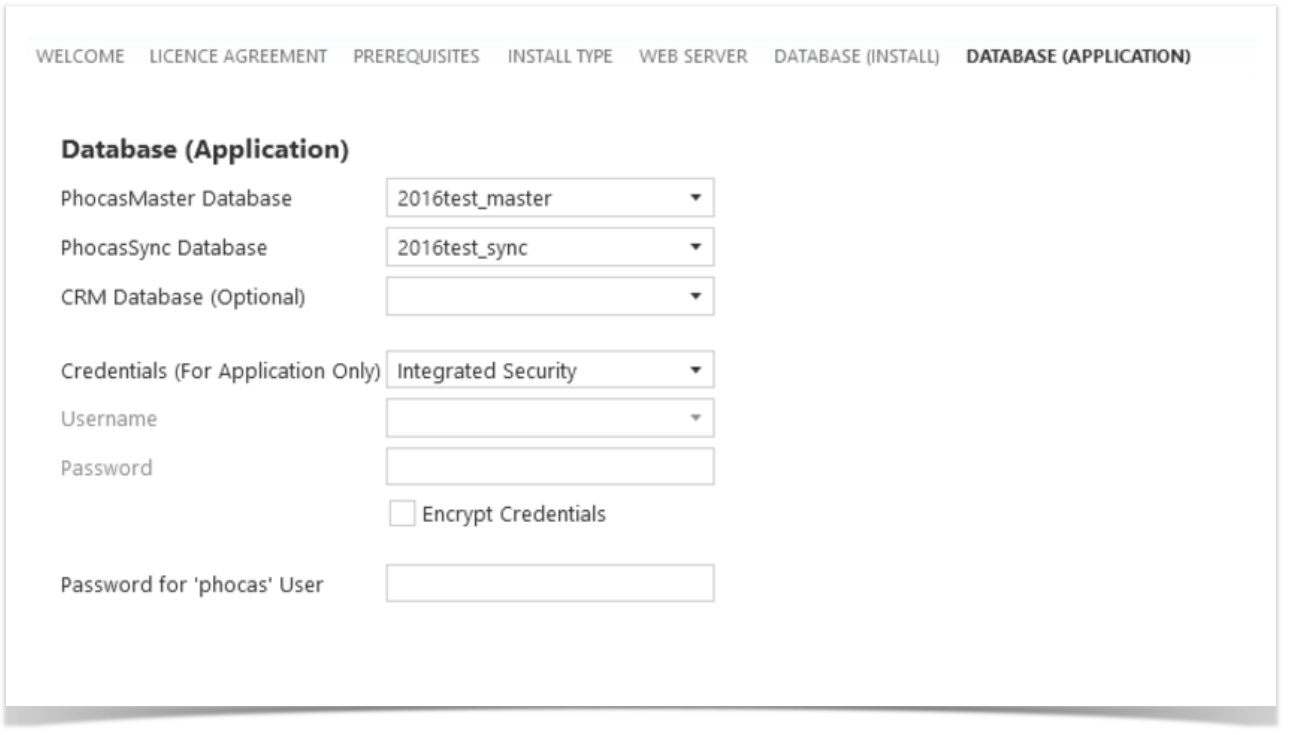
Database information
This screen will be pre-populated, based on your existing Phocas installation and the selections made in the previous screen. Choose Next.
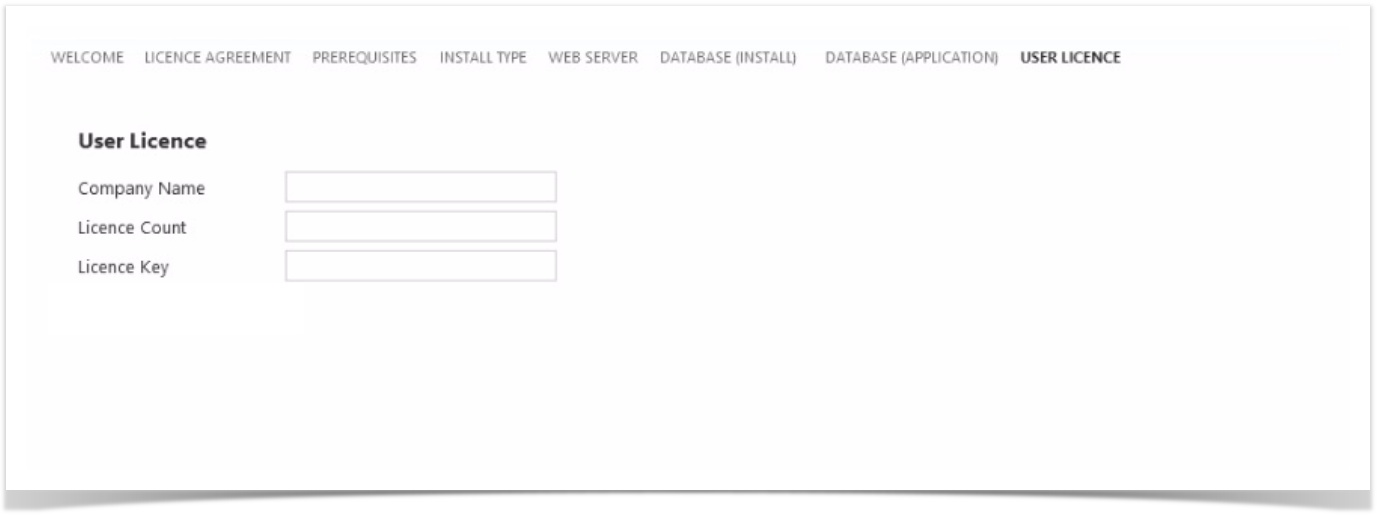
User Licence
This screen will be pre-populated, based on your existing licensing arrangements with Phocas. Choose Next.
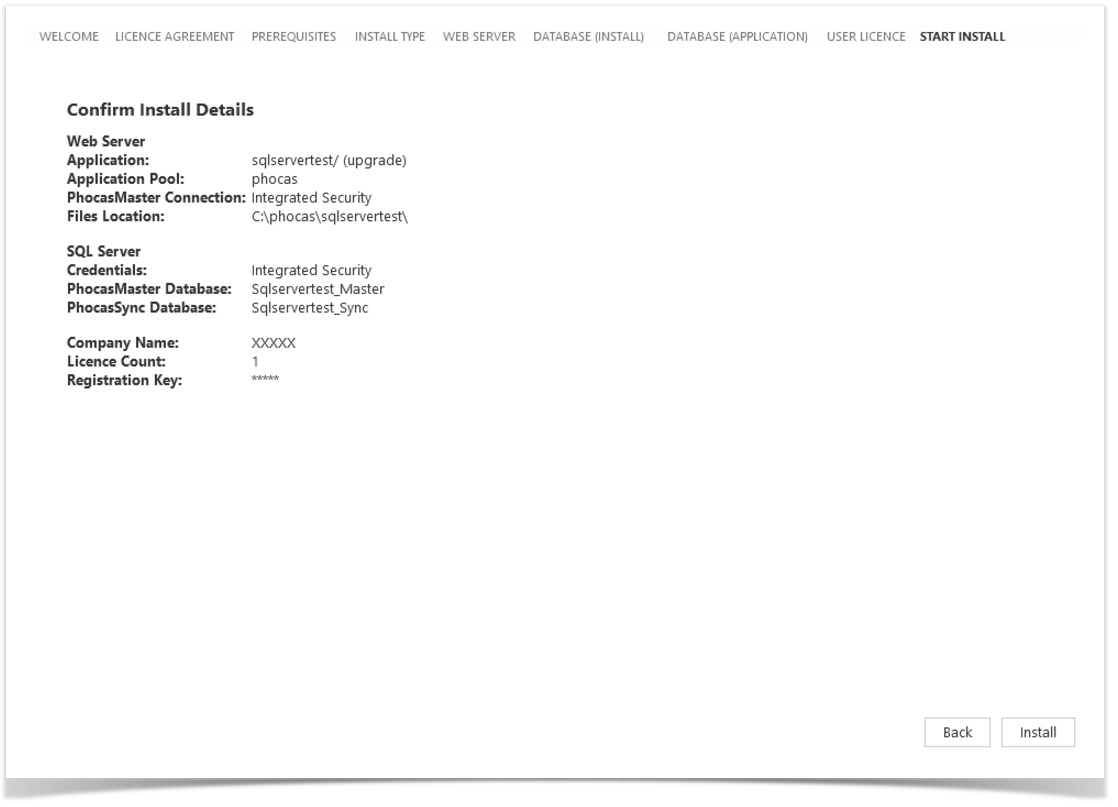
4. Start Install
Confirm installation details and click Install to continue.
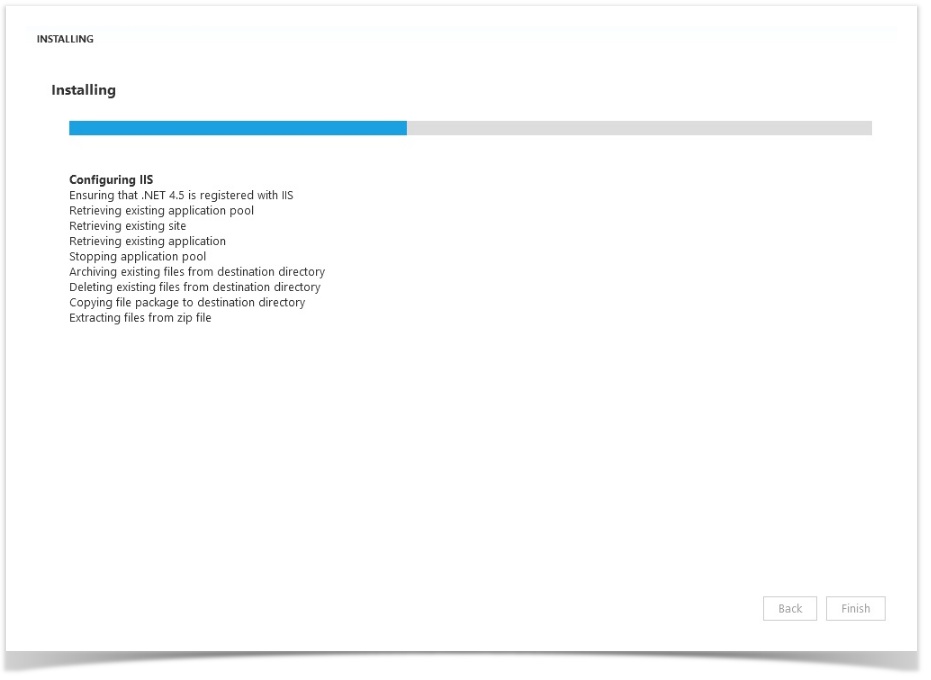
5. Complete the installation
You will see the installation progress is displayed, along with any errors.
Click Finish to close the installer. This completes your upgrade.
3. After you upgrade
Open Phocas as usual. You will see the latest version, with your databases etc intact.
Note about sites with .NET Framework lower than 4.7.2 or using HTTP
Users with these sites, see this article: Additional upgrade instructions for sites with .NET Framework lower than 4.7.2 or using HTTP.
This article covers additional steps to completed at the end of the upgrade process, if the site that you are upgrading:
uses a Microsoft .NET Framework version lower than 4.7.2 or
uses an http:// protocol.
If the site falls into one, or both, of these categories a manual change to the Web.config on the server is required, to avoid potential issues with the Phocas login screen caused by a change to browser security standards. This is a relatively straightforward process, but caution should be used whenever touching the Web.config files.
Update Sync (recommended)
Each time you update Phocas, you should update Sync. Your version of Phocas must be the same or more recent than the version of Sync, so if you update Sync each time you update Phocas, they'll always match.
Create new databases (optional)
You can use Designer to design and build a new database from scratch. Upload and map data and use the Sync tool to ensure your data updates regularly.
Troubleshooting and FAQs
How do I get the latest installer?
Visit the Phocas downloads page, or contact a Phocas support consultant in your region.
How do I know what version of Phocas I am on?
To see what version of Phocas you are running, go into Phocas and select Administration > Environment. For more on this see /wiki/spaces/PKB/pages/1358645.
How do I know whether my site meets the system requirements?
Refer to System requirements page.
How does a typical upgrade work? Does it affect my databases or just the version of Phocas I am using?
A typical upgrade will only affect the version of Phocas currently being used. Only the website and PhocasMaster are affected during the installation.
What if there are errors at the last screen?
Contact a Phocas support consultant in your region taking note and a screenshot of the error message received.
Why won't my login screen load after an upgrade?
If this occurs, it may mean that the site you are upgrading::
uses a Microsoft .NET Framework version lower than 4.7.2 or
uses an http:// protocol.
This article System requirements shows you where to checkyour .NET version
If this is the case you may need to carry out some additional upgrade steps due to changes to browser security standards. See this article: Additional upgrade instructions for sites with .NET Framework lower than 4.7.2 or using HTTP
What do I do if I run into problems that I can't resolve? Who do I contact?
You can contact a Phocas support consultant in your region if you have more questions or need further help with your upgrade.