| Table of Contents | ||||
|---|---|---|---|---|
|
Open Designer
Adding a link
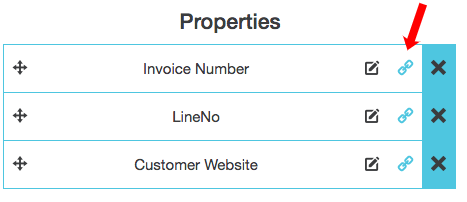
To add a link, click the link icon next to the relevant dimension.

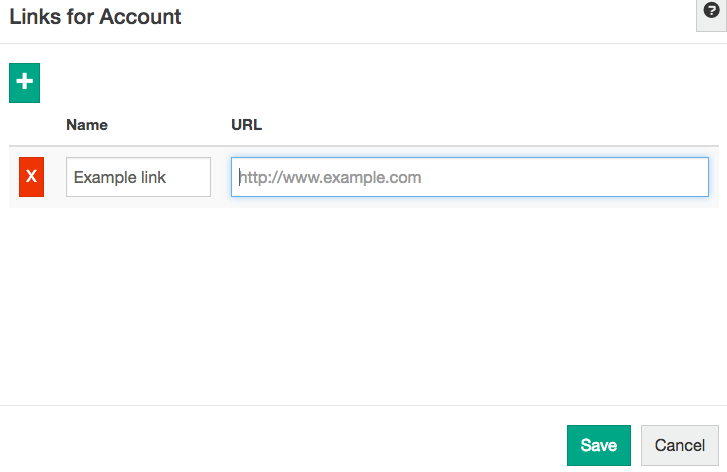
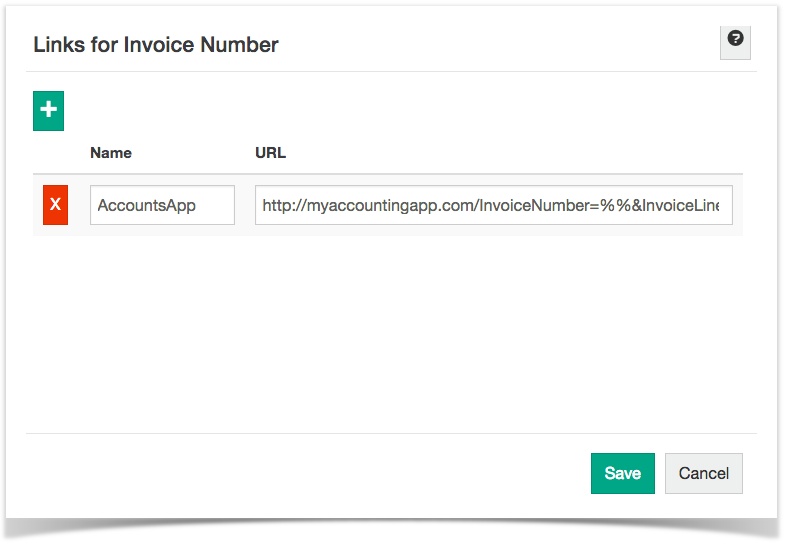
The following screen will appear:
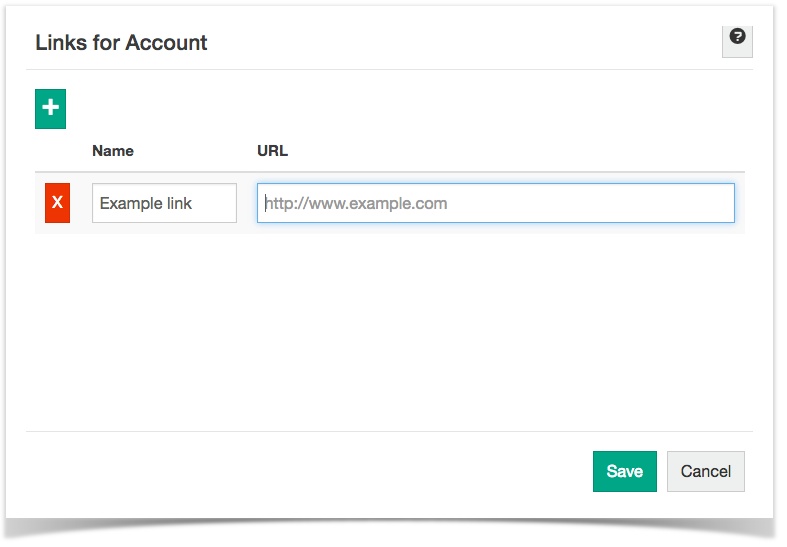
Click the green plus icon to add one or more new links, and populate the fields as follows:
- Name - the caption that is shown in Phocas.
- URL - the link code. More details below. Note there is no validation at design time.
Once a link has been added, the link icon turns blue. After creating or changing a link, you need to rebuild the database before the link becomes available.
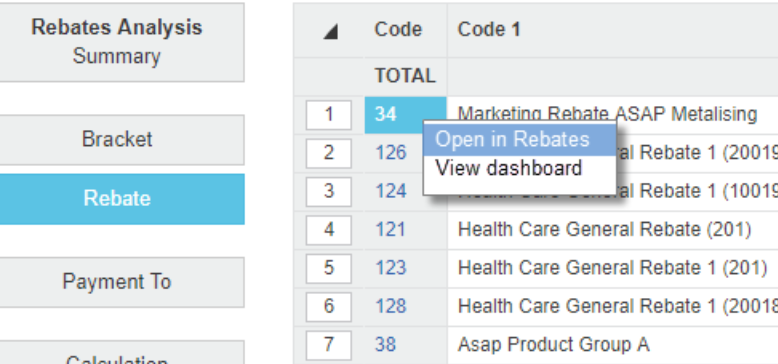
How a link will appear in Phocas
The 'Code' field is displayed , as shown below run it link labels shown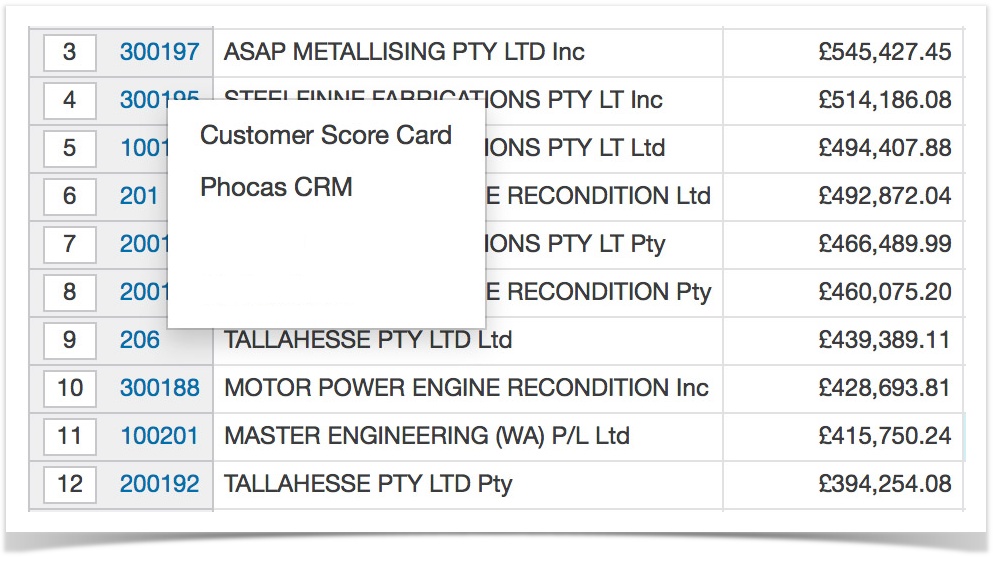
How the link appears in Phocas

Add a link to a dimension
In Designer, click the Link button next to the relevant dimension.

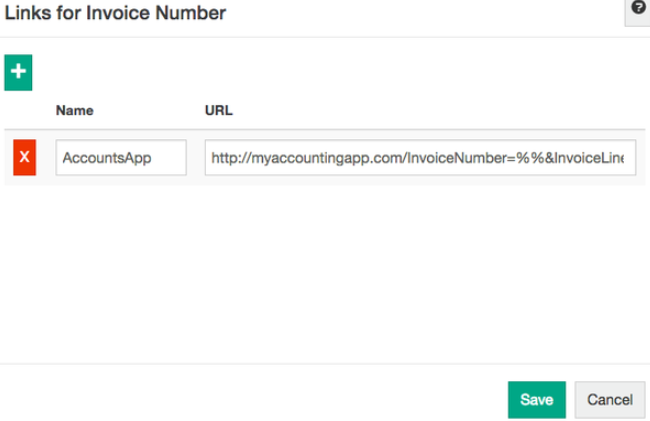
In the Links window, click the green plus button to add one or more new links, then enter the following details:
Name - The name that displays in the grid.
URL - The link code. See below for more information. Note there is no validation of the link at this stage.
Click Save. The link button (icon) turns blue to indicate a link was added.
Rebuild the database to make the link available.
| Expand | ||||||||||||
|---|---|---|---|---|---|---|---|---|---|---|---|---|
| ||||||||||||
Internal links can be set up using a syntax starting with 'database', 'favourite' (spelt with a 'u) or 'dashboard', as outlined below, followed by name (or ID) and the required query.
|
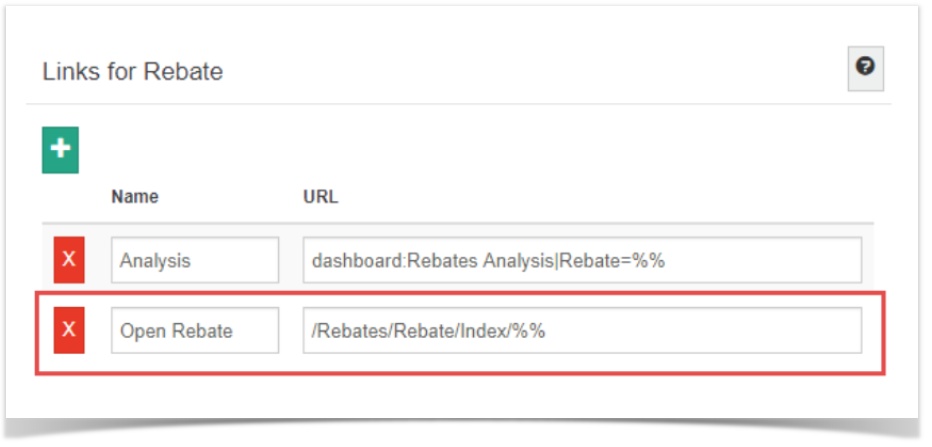
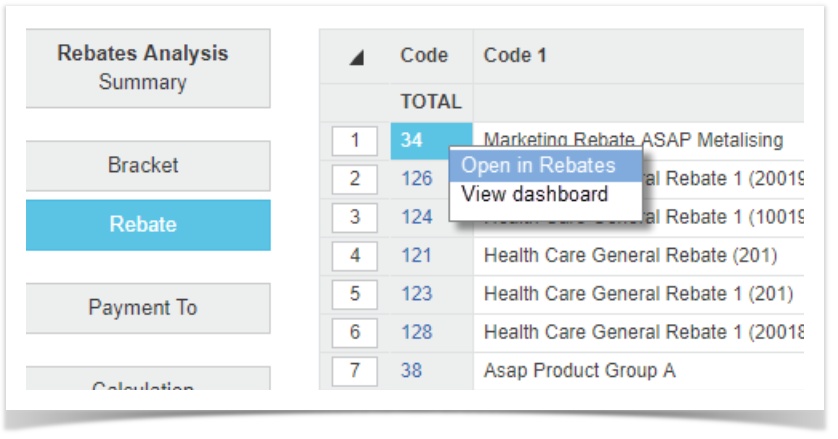
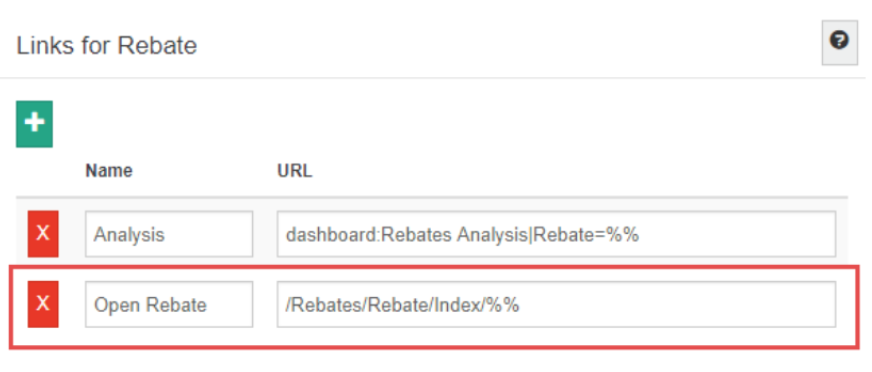
Link to Rebates
If you have Phocas Rebates, you can link to an individual rebate, so users can open the rebate directly from Phocas.
Use the URL /Rebates/Rebate/Index/%%
Add a link to a transaction property
You can add links to transaction properties so that in
To do this:
Select the link icon next to a property.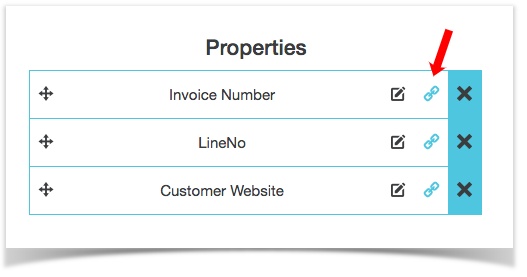
%%property_name%%
E,g.
Dimension properties
In Designer, click the Link button next to the relevant property.
In the Links window, click the green plus button to add one or more new links, then enter the following details:
Name - The name that displays in the grid.
URL - The link code. Enter the following syntax (placeholders):
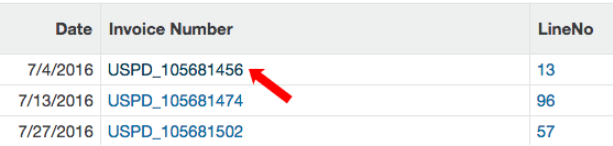
To reference a property, use %%property_name%%. For example, Value=%%invoice_number%%&AnotherValue=%%duedate%%
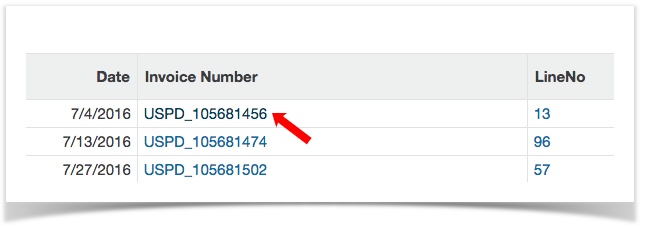
On the grid, the user will see a link similar to those below, which, in this example, would take them to their accounting system
To reference other dimension properties within a transaction property link,
Click Save. The link button (icon) turns blue to indicate a link was added.
Rebuild the database to make the link available. On the grid, users will see a link similar to those below, which, in this example, would take them to their accounting system.
Add an external link
As well as linking to other Phocas databases, this feature can be used to open external applications and webpages, using the same parameter passing method. This is particularly useful when the partner ERP system can be opened using URLs.
The syntax is the same, except for the domain part: