You can create If you have permission to manage users, you can create new user accounts in three ways:
Add a new user account from scratch
.
Clone feature an existing user account to create a new user account with most of the same settings as an existing user.
Import feature to add multiple users multiple user accounts (and assign the same settings) at the same time.
You complete start all of these actions on the Administration > Users screen.Click the Phocas menu button > Administration > Users to open the Users screen.
Add a user
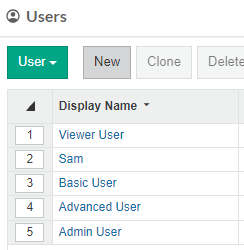
On theOn the the Users screen, click New.
On the New User screen, enter the user’s information and click Save.
This screen is basically the same as the User tab on the user maintenance form. When you click Save here, the new user is created and extra tabs appear, to allow you to maintain the settings for this user. See the following pages for more information:View and change user settings (user maintenance form), in particular the User tab section to get started.
Import users
You can import multiple new users in one of two ways, depending on your server configuration (Phocas or LDAP). You can either use a supplied text file or Windows Active Directory. You then use Bulk Update tool to refine the permissions and settings.
details, including their email address and display name. See the User maintenance form for more information.
Determine whether or not you want to send the user an email with their login details. See Manage user passwords.
Select the applicable license(s).
Select the applicable permissions: General (Account Locked and Detailed Logs), Folders and Custom Actions.
Click Save. The new user account is created and extra tabs appear.
Click the Profile tab and either assign a shared profile or create a user-specific profile. See Assign profiles to users.
Click Save > Close.
Clone a user
On the Users screen, select the existing user you want to clone and click Clone.
In the Clone User window, enter the user’s username and display name. See the User maintenance form for more information.
Select the LDAP Authenticated? checkbox, if required.
Select the Copy personal favorites checkbox, if you want to copy the original user's personal favorites and assign them to the new user. These are copies only - if the original user deletes a personal favorite, it doesn't affect the new user's copy.
Personal favorites are those favorites that are owned by the original user. Any favorites that were shared with the original owner are not copied.
Any shared users on the original owner's personal favorites are not copied.
Subscriptions are not copied.
Enter and confirm a password for the new user.
Select the Force password change? checkbox (only available on non-LDAP sites) if you want to user to be required to create a new password when they first sign in.
Click Save. The new user account is created and opens on the User tab.
Proceed to update the user’s maintenance form.
Import users
On the Users screen, click More > Import.
Upload or select users, according to your server configuration, which is either Phocas (default)
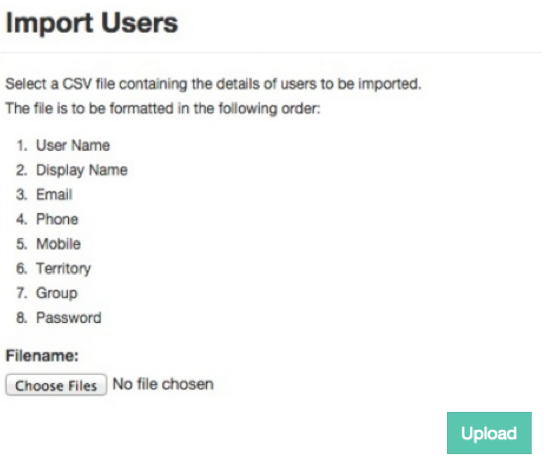
Phocas (default) authentication - The Import tool allows you to upload new users
via a CSV text file
, for example, based on
a Microsoft Excel
You can view an example file here. This file can be opened and edited in Microsoft Excel.
When the CSV file has been uploaded, follow the same steps as described for sites that use LDAP authentication (below).
If you use LDAP authentication
For sites using Set up LDAP user authentication, theworksheet. Ensure the data in your file is in the order specified on the
Import Users window. You might prefer to download and edit this example file. Then select your file and click Upload.
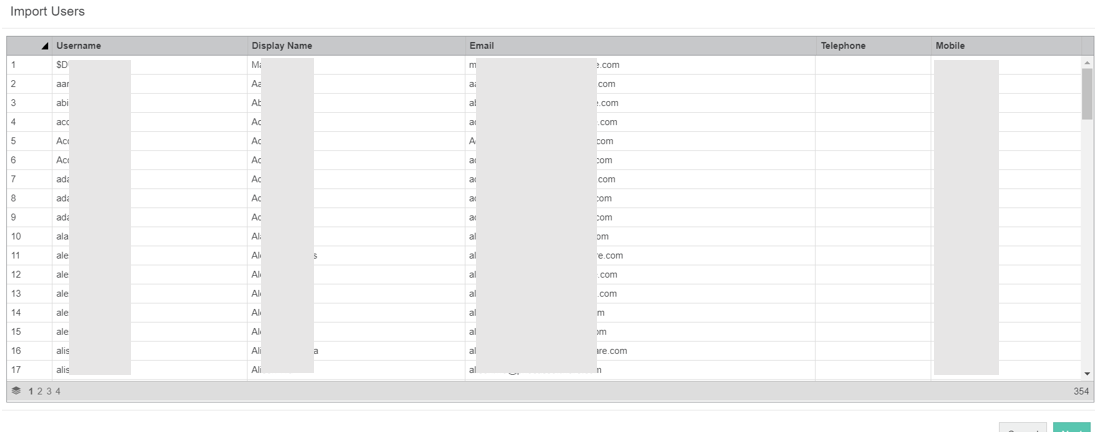
LDAP authentication - The Import tool retrieves a list of all LDAP users who are not already in the Phocas user list.
Select the required users and
click Next.
Select the applicable license(s).
In the form that appears, set user properties such as permissions, folders and integrations and click Next. Assign the users to a group, territory and/or team. Unless you have the Users: All Users setting selected in your profile, the Group and Territory fields will automatically be populated with your own group and territory and show as disabled. If you have either Users: Users In Same Group or Users: Users In Same Territory, but not Users: All Users, both Group and Territory will be disabled.
Select the applicable permissions: General (Detailed Logs), Folders and Custom Actions.
Determine whether or not you want to send the user an email with their login details. See Manage user passwords.
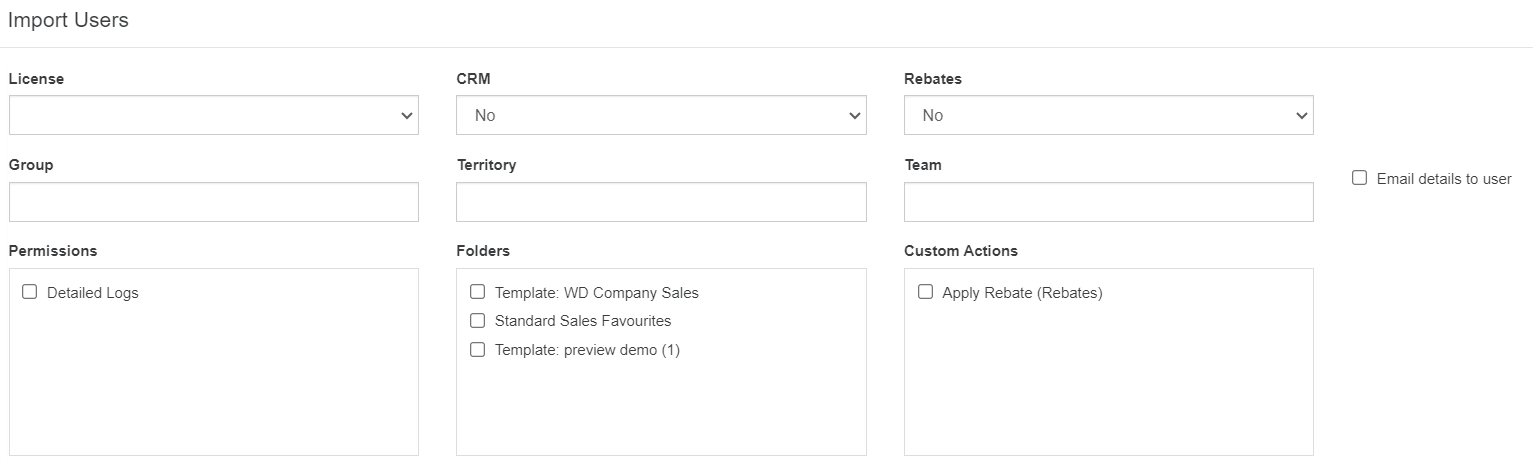
Click Next.
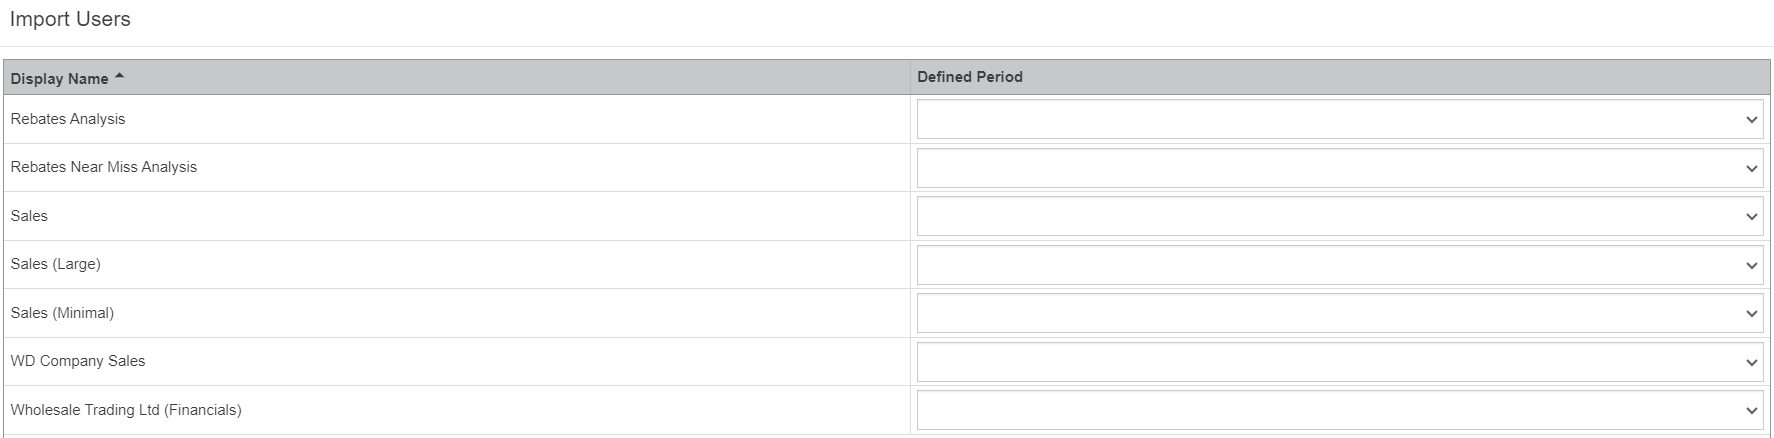
Select a defined period next to the database or databases you want the new users to be able to access and click Save.
Click Save.
Proceed to update the permissions and settings for individual users, as required.
On this page
| Table of Contents | ||||
|---|---|---|---|---|
|
| Panel | ||
|---|---|---|
| ||
Videos |
Related pages
| bgColor | #E3FCEF |
|---|