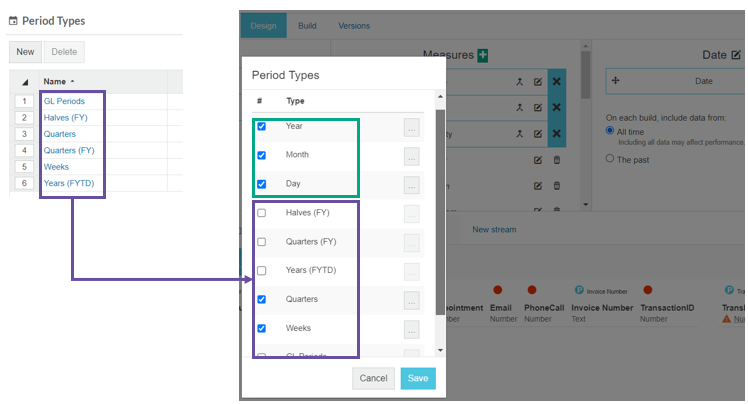
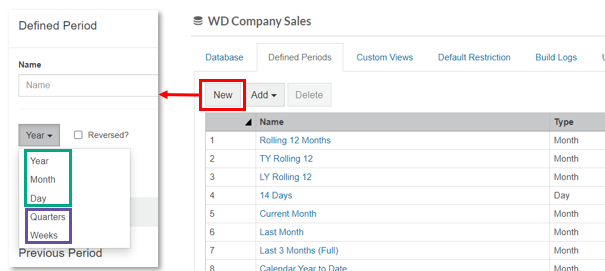
There are three default period types:
- Months
- Days
- Years
| Table of Contents | ||
|---|---|---|
|
Direct entry into Phocas
Step 1: Select Administration > Period types.
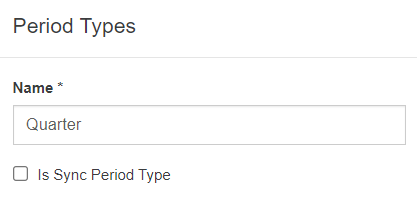
Step 2: Choose New, name the new period type (in this example Quarter) and Save.
This new period type will appear in the list.
Step 3: Now you'll need to define each moment of your new period type. To do this, select the period type you just created and choose Add. In the dialog that opens, enter a name, and the required date range and Save. In this example, we've repeated this step 4 times for each of our 4 quarters, as shown below.
| Quarter 1 | Quarter 2 | Quarter 3 | Quarter 4 |
|---|---|---|---|
Note that you can not see , allowing you
Step 5: This period type will now be available in the date dropdown when designing / editing databases in the Designer tool. (Helen Gosper insert link here??)
You'll need to tick it and rebuild the database for be available in Phocas.Import start and end dates for each period
Step 1: Select Administration > Period types.
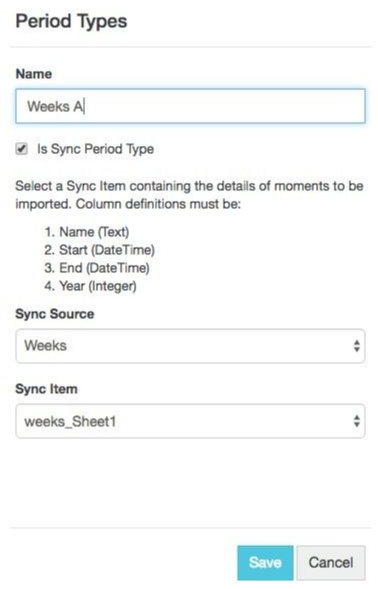
Step 2: Choose New, name the new period type (in this example, Weeks) and Save. This new period type will appear in the list.
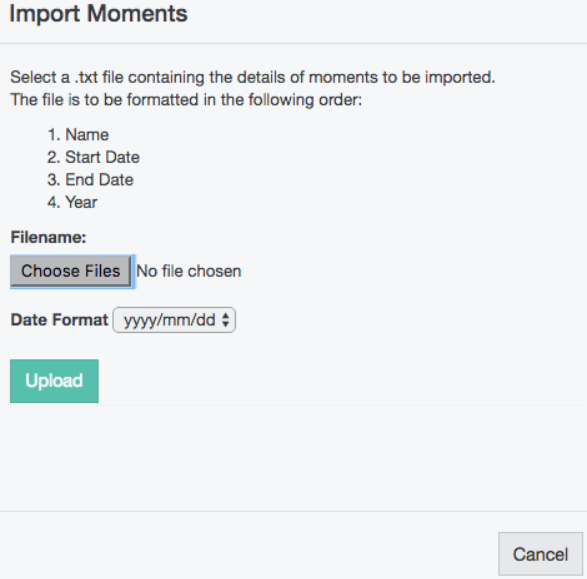
Step 3: Upload the file that contains details of your new period type. To do this, select the period type you just created and then choose Import. You can download the file used in this example here; it is similar to the screen shot below.
Step 4: Set the date format to match that of the imported file (for the screen shot above we'll need to choose dd/mm/yyyy) and Upload.
NOTE!
Although 'll etc If to choose .Step 5: This period type will now be available in the date dropdownwhen designing / editing databases in the Designer tool. See Design a database.
You'll need to tick it and rebuild the database for the new period type to be available in Phocas.
