Versions Compared
| Version | Old Version 54 | New Version 55 |
|---|---|---|
| Changes made by | ||
| Saved on |
Key
- This line was added.
- This line was removed.
- Formatting was changed.
| Panel | ||||||||
|---|---|---|---|---|---|---|---|---|
| ||||||||
Administration permission required: Period Types, Databases and Sync |
In Phocas, period types define the core increments of time that allow users to analyze their data, forming the basis of defined periods. The default period types are months, days and years but other period types can be added, such as quarters or weeks.
You can set the defined periods (date ranges) that display in the Period menus for each database. If the period you want is not available in the Defined Periods list, you can add it to your Phocas site using the steps below. After you add a new period type, you need to add it to one or more databases in Designer, so it is available as a defined period option.
View all period types
Click the Phocas menu button > Administration >Period types to open the Period Types screen, which In the Phocas menu, click Administration >Period types. The Period Types page displays a list of all your period types. You can then add, edit and delete periods these as required, and add new period types.
 Image Removed
 Image Removed
 Image Added
Add a period type
The process of adding a new period type has two key steps. First, you add the period type, then you define each moment in that period, in other words, add the collection of date ranges that make up the period. You can define the moments in three ways; (A) manually enter the moments, (B) import a file containing the moments or (C) base the period type on synced data.
On the Period Types screen, click New.
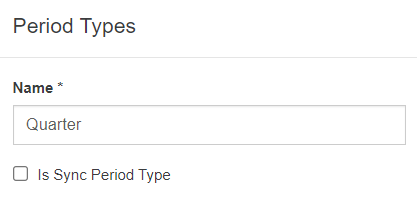
In the Period Types window, enter a name for the new period type, for example, Quarter.

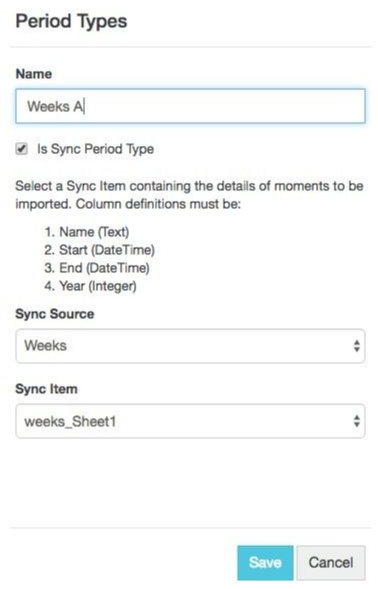
If you want to base the moments on synced data, select the Is Sync Period Type checkbox. Additional options display. Skip to the expandable section (C) below.
Click Save. The new period type displays in the list on the Period Types screen.

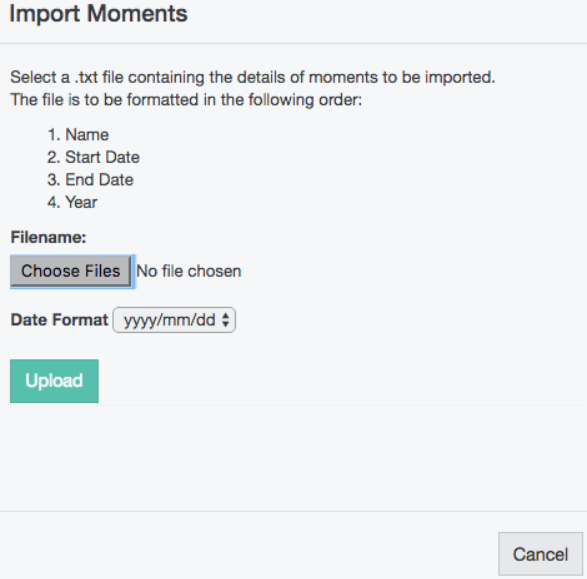
Define each moment in the period type using one of the methods outlined below (expand the applicable section).
| Expand | ||
|---|---|---|
| ||
|
| Expand | ||
|---|---|---|
| ||
|
| Expand | ||
|---|---|---|
| ||
If you have synced data, you can add a period type based on that data. Notes about the sync period type:
Prerequisite: Ensure the synced data item contains the moments in the new period type, organized into four columns in this order:
Continuing from step 3 above, wherein the Period Types window you select the Is Sync Period checkbox and additional options display:
|
Add a period type to a database
After you add a period type using the steps above, you need to add that period type to the applicable database(s) in Designer, then save and rebuild the database.
Edit or delete the moments in a period type
On the Period Types screen, click the period type to open its Moments screen.
Take the applicable action:
Edit the moment details: Click the moment (blue link), make your changes and click Save.
Delete a moment: Select the moment row and click Delete > Yes.
Click Close.
Delete a period type or moment
On the Period Types screen:
To delete a period type, select the period type row and click Delete > Yes.
To delete a moment, click the period type to open its Moments screen, then select the moment row and click Delete > Yes.
Set a defined period type for a database
You can set the defined periods (date ranges) that display in the Period menus for each database. If the period you want is not available in the Defined Periods list, you can add it to your Phocas site using the steps above. After you add a new period type, you need to add that period type to the applicable database(s) in Designer, so it is available as a defined period option.
On this page
| Table of Contents | ||||||||||
|---|---|---|---|---|---|---|---|---|---|---|
|


