Administrators with permission If you have the Administration > Working Days permission, you can add calendars that show include working days and exclude non-working days, . These calendars are typically set up to align with your country's public holidays, half-day holidays and so on. These
Working days calendars are useful when users you want to calculate the daily average using in Analytics. Using working days, rather than days in calendar months etc.
Create a working days calendar
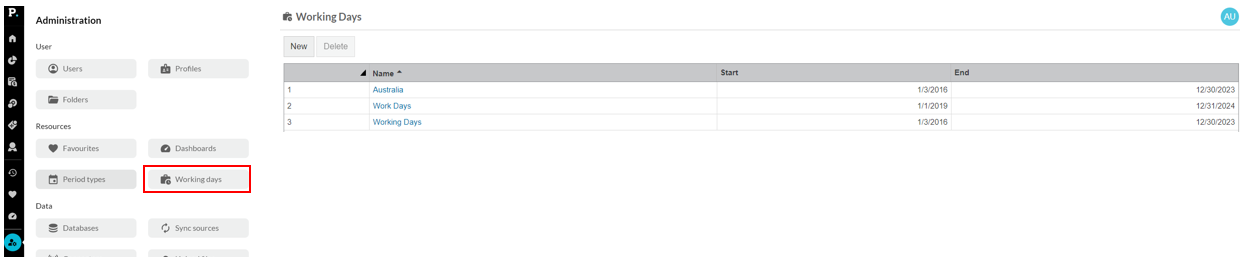
Click the Phocas menu button > Administration > Working Days.
, gives you more meaningful results. The average value is calculated by dividing the value in each period by the number of days in each period. So, for example, if there are 31 calendar days but only 25 working days in a month, using a calendar month will not accurately reflect the daily average value.
In the Phocas menu, click Administration > Working Days. The Working Days page displays a list of all your working day calendars. You can edit and delete these as required, and add new calendars.
Create a working days calendar
On the Working Days page, click New.
Set up the calendar (see information about the fields in the table below).Enter the calendardetails:
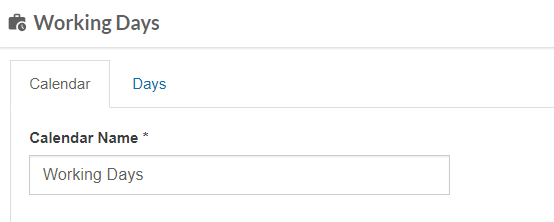
Calendar Name - Enter a unique display name.
Start Year - Specify the starting point for use in automatically generating working days. This is the start of the date range that the calendar covers.
End Year - Specify the end point endpoint for use in automatically generating working days. This is the end of the date range that the calendar covers.
Exclude Weekends - Select this checkbox if you do not want weekends to be included as working days when automatically generating working days.
Click Save.
Proceed to edit the new calendar to add non-working days or partial working days as required.
Edit a working days calendar
You can further configure a calendar via the Calendar and Days tabs on the Working Days screen.
Calendar allows you to change of the calendar name.
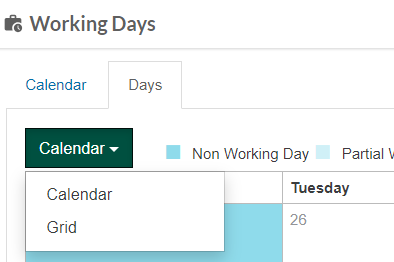
Days presents two views for configuration:
Calendar view: Used for setting working days. Click on the day to toggle between working day and non-working day. Non-working days (such as weekends) are shaded blue. Partial working days are shaded pale blue, forWhen you create a working days calendar, you simply add a calendar to Phocas for the specified date range and this may or may not include weekends. The next step is to exclude other days from this calendar or mark some days as partial working days, if applicable. You might also want to edit an existing working days calendar if you make a mistake during setup or circumstances change.
If you have just created a working days calendar, its setup page opens after you click Save. If you want to edit an existing calendar, on the Working Days page, click the calendar’s name (blue link) to open its setup page.
By default, a calendar' setup page opens on the Calendar tab, where you can change the calendar’s name, if required.
Click the Days tab to set the working days and change the hours in a working day. You can do this in two ways, using either the Calendar (default) view or Grid view.
Calendar view
Use the Calendar view to quickly set the working days. Color coding differentiates the non-working days (blue) and partial working days (pale blue) from the working days (white). For example, in the image below, Saturdays and Sundays are non-working days, Tuesday 12 April is a half-day
.and all other days are working days.
Click on the day to edit and use New button to add. To remove a day, select the row and click Delete.Change the hours in a working day
In the Calendar view, the working day dialog can be accessed by selecting the day number in a calendar cell.
In the Grid view, the working day dialog is accessed by selecting an active link to a day.
A partial working day allows
Use the date selector on the top right of the grid to move between the months in the calendar.
Click a working day to change it into a non-working day. It turns blue.
Click the day number in the corner of a day to open the Working Day window, where you can enter a value to set a partial working day. You can enter a value for more than or less than a single day
to be allocated to a single calendar day.
For example, 0.5 equals a half day.
Use the date selector on the top right of the grid to move between the months in the calendar.
Click a non-working or partial working day to change it back into a working day.
Grid view
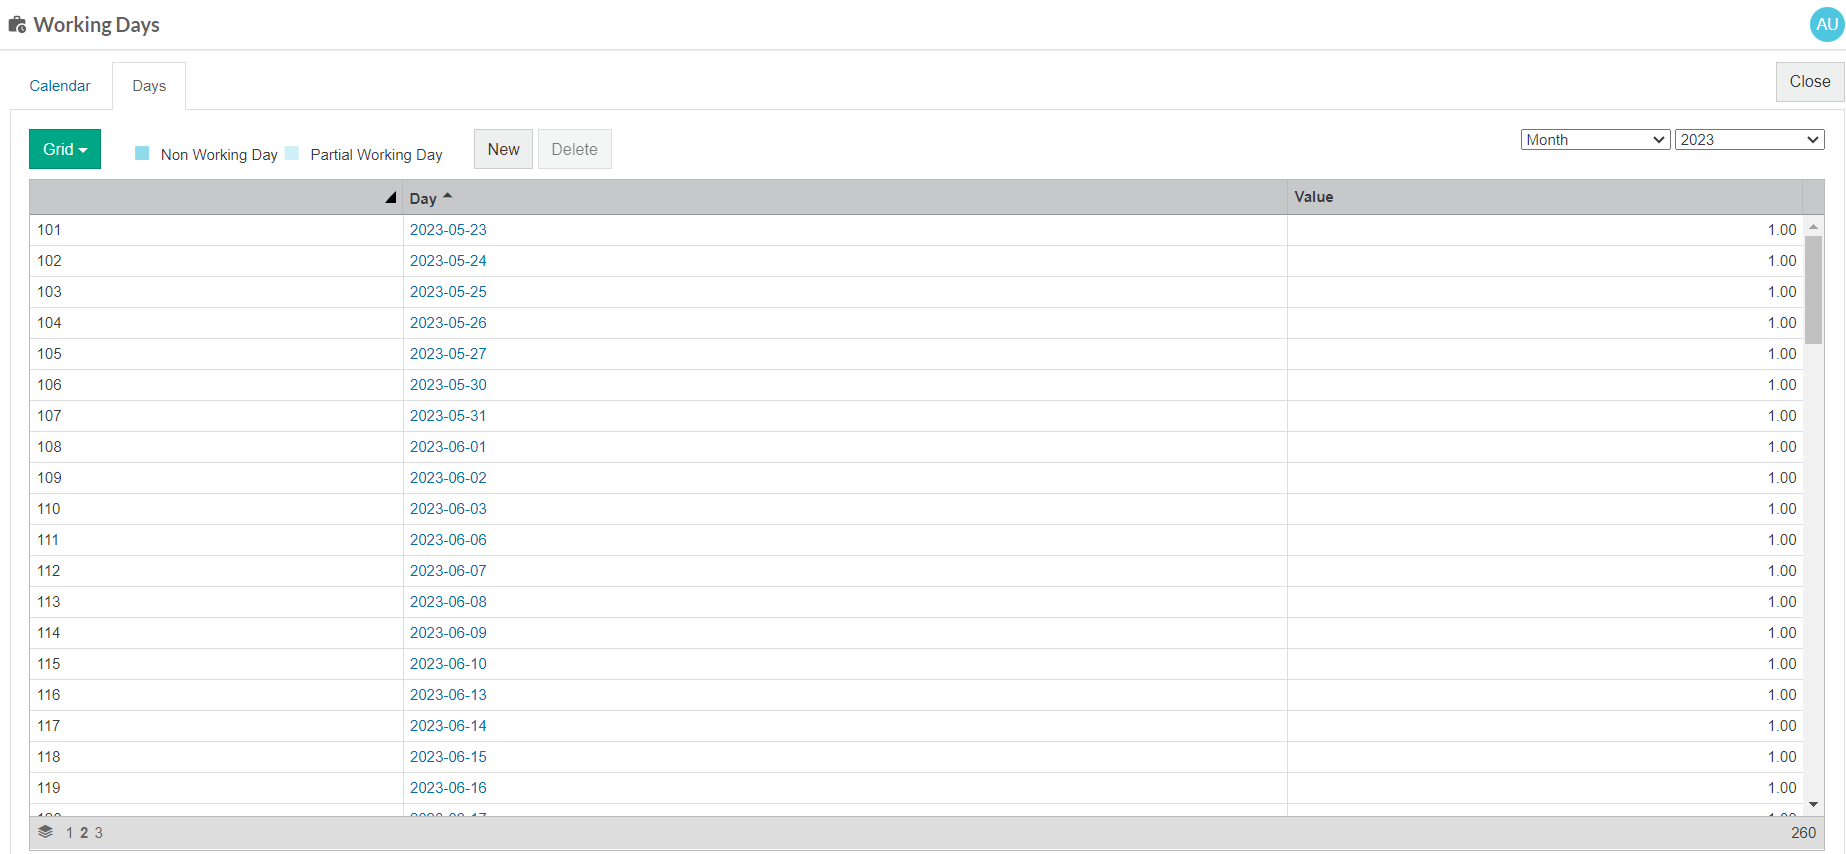
Use the Grid view to add, edit and remove working days. The grid displays only the working and partial working days.
Use the date selector on the top right of the grid to move between the months in the calendar or the links at the bottom of the grid to move between the days.
Click on a day to open the Working Day window, where you can enter a value to set a partial working day. For example, 0.5 equals a half day.
Add a new working day: Click New.
Remove a working day: Select its row and click Delete.
On this page
| Table of Contents | ||
|---|---|---|
|
| Panel | ||
|---|---|---|
| ||
Video |
Related page
Change the data format (daily average)