The My Agenda screen gives you a 7-day view of all the activities, such as meetings and tasks, you have scheduled in CRM. You agenda helps you stay organized and also makes it easier to keep CRM up to date. If you have permission, you can also see the week's agenda for other team members.
| Tip |
|---|
See the View and edit activities page to learn about the activity types. |
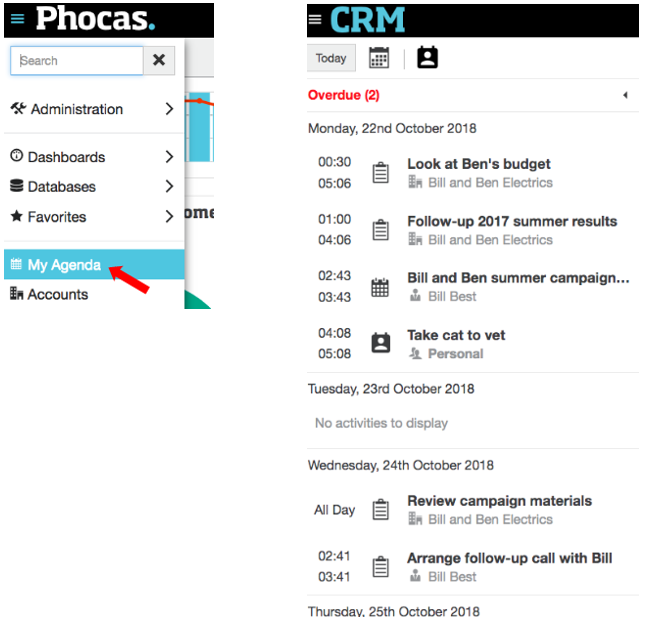
Click the Phocas menu button > My Agenda.
My Agenda opens by default on today’s date and displays list of activities you have coming up for the next week, listed by date.

View and edit an item
On the My Agenda screen, overdue items are flagged at the top (in red). This section will be collapsed if there is more than one item; expand it to view the other overdue activities. You can click the Calendar button to select a different date and click Today to switch back to today’s view as required.
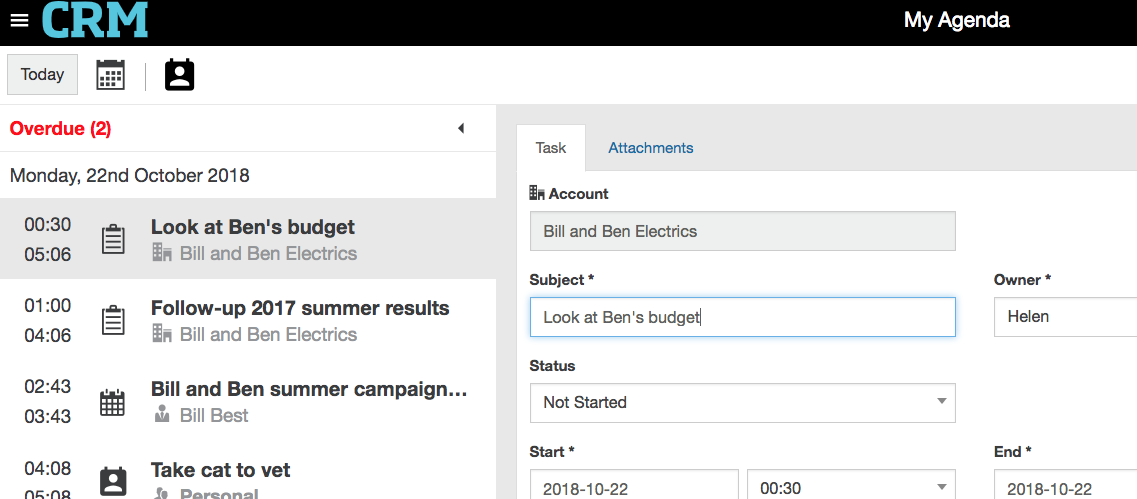
Click an item in the list to display its details on the right. This is the same information you would see if you opened the activity from the Activities screen or the Activities tab in an account, contact or lead record.
Edit the activity’s details as required and click Save.

Add an activity
You can add activities against accounts, contacts and leads from within their respective records. You can also add your own personal appointments here on the My Agenda screen and on the My Activities screen.
See Add and delete activities for more information and instructions.
Schedule
anagenda email
notificationnotifications
You can set up notifications about your upcoming agenda items to be sent to your email account:
To remind you about your upcoming agenda items
To inform you when you have been assigned an activity or invited to a meeting.
This feature requires SMTP settings to be configured. Check with your administrator if you are not sure if this option is available.
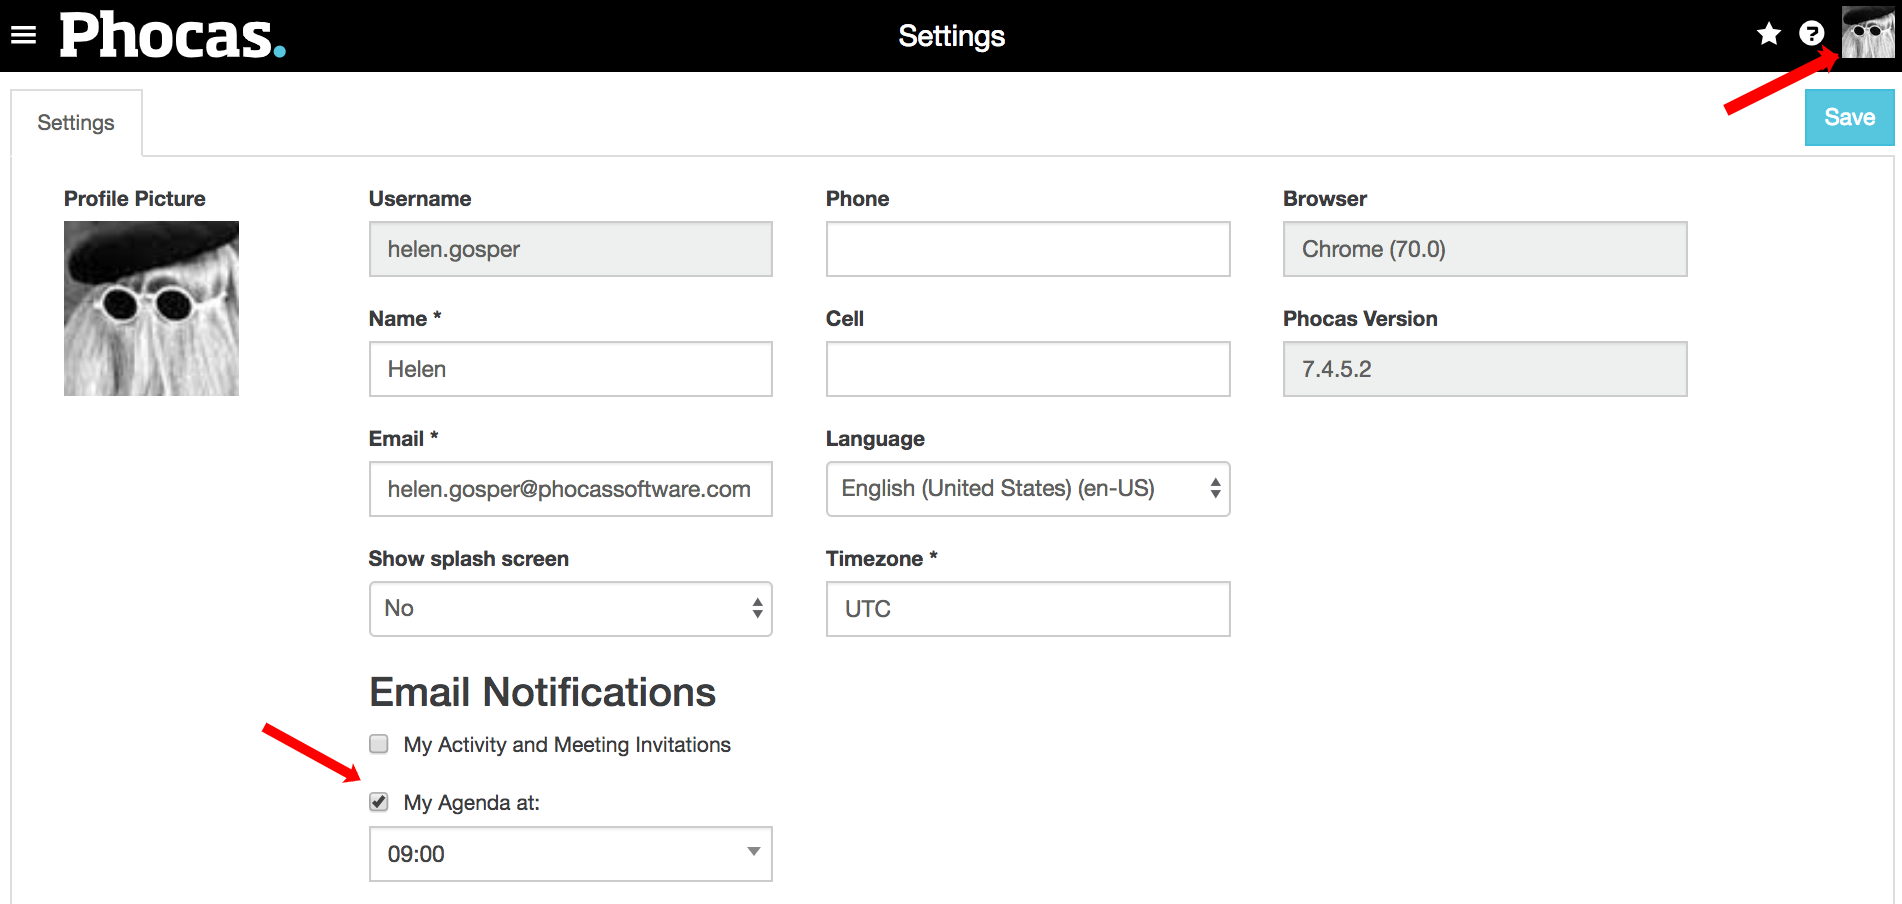
In the top right of your screen, click the profile picture > Settings.
In the Email notifications section, select the required notification option(s):
Select the My Activity and Meeting Invitations checkbox.
Select the My Agenda at checkbox and select the time you want to the email to be sent.
Ensure your email address and time zone are correct.
Click Save.
| Tip |
|---|
If you do not receive the first scheduled email, check your email clutter or junk folders. |
On this page
| Table of Contents | ||||||||||
|---|---|---|---|---|---|---|---|---|---|---|
|
| Panel | ||
|---|---|---|
| ||
Video |